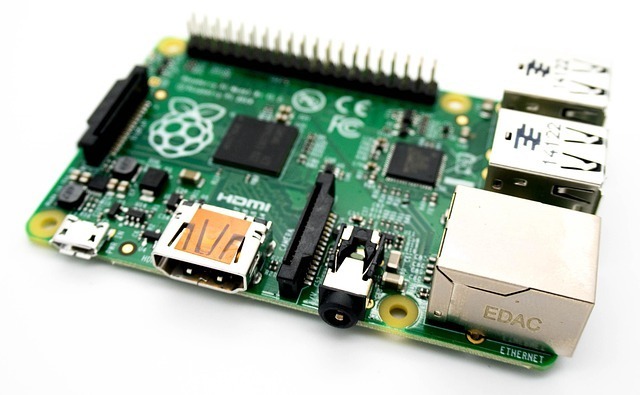
How to Install and Set Up FlightAware on a Raspberry Pi
Introduction
FlightAware is a popular flight tracking service that allows users to track aircraft in real-time. By setting up a Raspberry Pi with an ADS-B receiver, you can contribute flight data to FlightAware while also accessing local tracking information. This guide will walk you through installing and setting up FlightAware’s PiAware software on a Raspberry Pi.
Prerequisites
Before starting, you’ll need the following:
- Raspberry Pi (any model with internet connectivity, preferably Raspberry Pi 3 or later)
- MicroSD Card (at least 8GB, Class 10 recommended)
- ADS-B USB Receiver (RTL-SDR dongle)
- Antenna (ideally an external ADS-B antenna for better reception)
- Power Supply (5V, 2.5A minimum for Raspberry Pi 3 and later)
- Internet Connection (Wi-Fi or Ethernet)
- Computer with SD card reader (for writing the image)
Step 1: Download and Flash the PiAware Image
FlightAware provides a pre-built image called PiAware, which simplifies installation.
- Download PiAware Image
- Visit FlightAware’s official PiAware download page and download the latest image.
- Flash the Image to the MicroSD Card
- Use a tool like Raspberry Pi Imager or balenaEtcher to write the image to the SD card.
- Insert the microSD card into the computer and select the PiAware image.
- Click “Flash” and wait for the process to complete.
Step 2: Configure Wi-Fi and SSH (Optional)
If you plan to connect via Wi-Fi, follow these steps:
- Open the boot partition of the SD card on your computer.
- Create a file named
piaware-config.txt - add the following lines:
- To enable SSH access, create an empty file named
sshin the boot partition.
Step 3: Boot the Raspberry Pi
- Insert the microSD card into the Raspberry Pi.
- Connect the ADS-B USB receiver.
- Power on the Raspberry Pi.
- Allow a few minutes for the system to boot.
Step 4: Claim Your PiAware Receiver
- Connect to the Raspberry Pi via SSH (if needed):
ssh [email protected]Default username:pi, password:flightaware - Find the IP address of your Pi (if
piaware.localdoesn’t work):
- Visit https://flightaware.com/adsb/piaware/claim in your web browser.
- Log in and enter your Raspberry Pi’s unique identifier.
- Your receiver should now be linked to your FlightAware account.
Step 5: Check Status and Update Software
To check that PiAware is running, use:
To update the software:
Step 6: Configure PiAware for Optimal Performance
- Open the configuration file:
- Modify settings as needed. For example, to enable MLAT (Multilateration), ensure this line is present:
allow-mlat yes - Save and exit (
CTRL + X, thenYto confirm changes). - Restart PiAware:
Step 7: Accessing Your Local Flight Data
Once PiAware is running, you can view real-time aircraft data locally:
- Open a web browser and go to:
http://piaware.local:8080 - This displays SkyAware, an interactive map showing live aircraft in range of your receiver.
Conclusion
You have successfully installed and configured FlightAware on your Raspberry Pi! Your receiver is now contributing to the global flight tracking network while allowing you to monitor air traffic in your area. For further customization and troubleshooting, refer to the official FlightAware documentation.
Happy tracking!


Leave a Reply