

Installing and setting up Pi-Star on a Raspberry Pi
Here’s a step-by-step guide on installing and setting up Pi-Star on a Raspberry Pi for digital voice modes like DMR, D-Star, and YSF.
1. What is Pi-Star?
Pi-Star is a software package designed for digital voice mode hotspots and repeaters, supporting DMR, D-Star, YSF, P25, NXDN, and M17. It runs on a Raspberry Pi and supports MMDVM-based hardware.
2. What You’ll Need
- Raspberry Pi (Pi 3B, 3B+, 4, or Zero 2W recommended)
- MMDVM Hotspot Board (JumboSpot, ZumSpot, etc.)
- MicroSD Card (8GB or larger)
- Power Supply for Raspberry Pi
- Computer with SD Card Reader
- Internet Connection (Wi-Fi or Ethernet)
3. Download and Install Pi-Star
Step 1: Download Pi-Star Image
- Go to the official Pi-Star website:
https://www.pistar.uk/downloads/ - Download the latest Pi-Star image (
.zipfile).- Raspberry Pi 3 & 4:
Pi-Star_RPi_Vx.xx.zip - Raspberry Pi Zero W:
Pi-Star_NanoPi_Vx.xx.zip
- Raspberry Pi 3 & 4:
Step 2: Flash Pi-Star to the MicroSD Card
- Insert your MicroSD card into your computer.
- Use Raspberry Pi Imager (or Balena Etcher) to write the Pi-Star image:
- Open Raspberry Pi Imager
- Click Choose OS → Use Custom → Select the downloaded Pi-Star
.zipfile - Click Choose Storage → Select your MicroSD card
- Click Write and wait for completion
Step 3: Enable Wi-Fi (Headless Setup)
- Once flashing is complete, remove and reinsert the SD card into your computer.
- Open the boot partition of the SD card.
- Create a file called wpa_supplicant.conf and add the following:
country=GB ctrl_interface=DIR=/var/run/wpa_supplicant GROUP=netdev update_config=1 network={ ssid="YourWiFiSSID" psk="YourWiFiPassword" scan_ssid=1 } - Save the file and eject the SD card.
4. First Boot and Web Interface Access
- Insert the MicroSD card into the Raspberry Pi and power it on.
- Wait 2-3 minutes for it to boot and connect to Wi-Fi.
- Open a web browser and go to http://pi-star/ or use the IP address (check your router).
- Log in with:
- Username:
pi-star - Password:
raspberry
- Username:
5. Basic Pi-Star Configuration
Step 1: Run the Setup Wizard
- Click “Configuration” at the top.
- Set your callsign, DMR ID (if using DMR), location, and frequency.
- Select the mode(s) you want to use (DMR, D-Star, YSF, etc.) and click Apply Changes.
Step 2: Configure MMDVMHost
- Choose the correct Radio/Modem Type for your hotspot (e.g., “ZumSpot – USB Stick”).
- Set the correct frequency (check your hotspot documentation).
Step 3: Configure Network Settings
- Set a static IP if needed.
- Configure Wi-Fi or Ethernet.
6. Configuring DMR on Pi-Star
Step 1: Enter Your DMR Details
- Go to the DMR Configuration section.
- Enter:
- DMR ID (Get one at https://www.radioid.net/)
- Radio Frequency (Match your hotspot)
- DMR Master (Choose a BrandMeister or TGIF server near you)
Step 2: Select the DMR Network
- BrandMeister: Best for most users (requires self-care account).
- TGIF Network: Alternative DMR network.
7. Testing Your Hotspot
- Use a digital radio (DMR, D-Star, YSF) tuned to your hotspot frequency.
- Try talking on a test talkgroup or reflector.
- Check the Pi-Star Dashboard to confirm it’s working.
8. Final Tweaks and Backup
- Update Pi-Star: Click “Update” in the web UI.
- Backup Configuration: Use the “Backup/Restore” tab.
- Remote Access: Set up SSH or VPN if needed.
That’s it! You now have Pi-Star running on your hotspot.
Need help? Let me know!
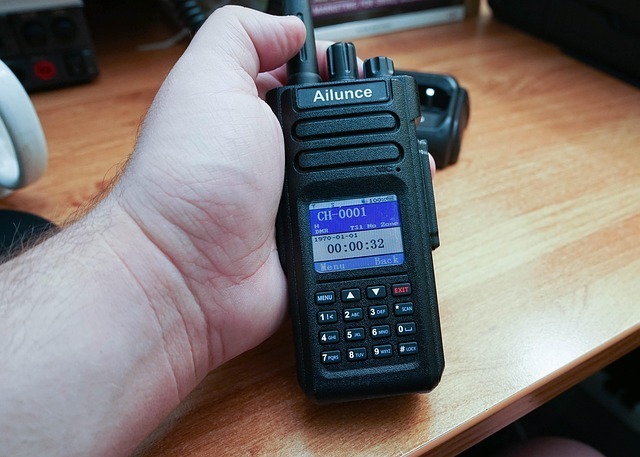
Digital mobile radio
Digital mobile radio (DMR) is a digital radio standard for voice and data transmission in non-public radio networks. It was created by the European Telecommunications
Leave a Reply