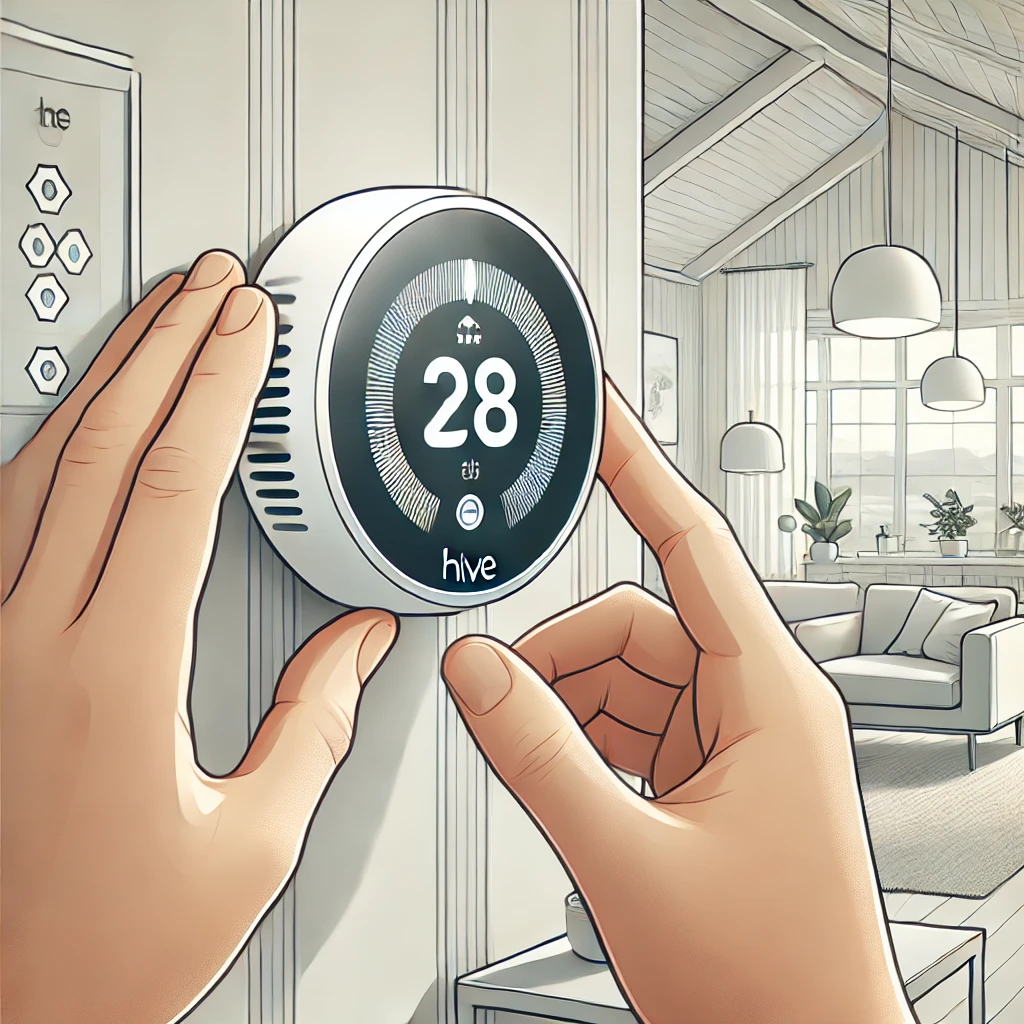
How to Install a Hive Thermostat
The Hive Thermostat is a smart heating system that allows you to control your home’s temperature remotely via an app. Installation requires connecting a Hive Hub, a Receiver, and the Thermostat.
🛑 Important: If you are replacing a wired thermostat, you may need a qualified electrician or Hive-approved installer for safety and compliance.
1. Check What’s in the Box
Your Hive Thermostat kit should include:
- Hive Thermostat (wireless control unit)
- Hive Receiver (connects to your boiler)
- Hive Hub (connects to your router for app control)
- Batteries for the thermostat
- Mounting screws and wall fixings
2. Install the Hive Hub
- Plug the Hive Hub into your broadband router using the Ethernet cable provided.
- Connect the power supply and turn it on.
- Wait for the lights on the hub to turn solid white (this means it’s connected).
3. Turn Off Power to Your Boiler
⚠️ Safety First: Before working on wiring, turn off the power at the mains to avoid electrical shock.
4. Install the Hive Receiver (Wired Connection to Boiler)
- The receiver replaces your existing thermostat control or timer.
- Mount the receiver near your boiler (following Hive’s guidelines).
- Wiring:
- If you have an existing wall thermostat, you may need to remove it and bridge the circuit to prevent interference.
- The receiver typically connects to the Live (L), Neutral (N), and Call for Heat (COM and NO) terminals on your boiler.
- Consult your boiler manual or Hive’s wiring guide for specific connections.
- Secure the receiver to the wall and turn the mains power back on.
- Check the receiver lights:
- Green flashing light – ready to pair.
- Solid green light – successfully connected to the thermostat.
5. Install the Hive Thermostat
- The Hive Thermostat is battery-powered and can be placed on a stand or mounted on the wall.
- Insert the batteries (if not pre-installed).
- The thermostat will start up and search for the receiver.
6. Pair the Thermostat with the Receiver
- On the Hive Thermostat, press and hold the back button and menu button together for a few seconds.
- The thermostat should automatically pair with the receiver (you’ll see a confirmation message).
7. Set Up the Hive App
- Download the Hive App (iOS or Android).
- Follow the on-screen instructions to connect the system to your Wi-Fi.
- You can now control heating remotely, set schedules, and monitor usage.
8. Test the System
- Adjust the temperature on the Hive Thermostat and check if the boiler responds.
- Try turning heating on/off from the Hive app.
- If it’s not working, recheck wiring and pairing steps.
Troubleshooting
- Thermostat won’t connect → Ensure the receiver light is flashing green and try pairing again.
- Boiler not responding → Double-check wiring connections or reset the receiver.
- No power to receiver → Verify that the mains power is turned on.
Done! Your Hive Thermostat is now installed and ready to use. Let me know if you need more help!
Hive Connected Home
000 customers. Using the Hive app and website, customers can control a range of internet-connected devices, from a thermostat to lights, smart plugs, motion


Leave a Reply